Los Angeles
Change Location (50+)
(50+) 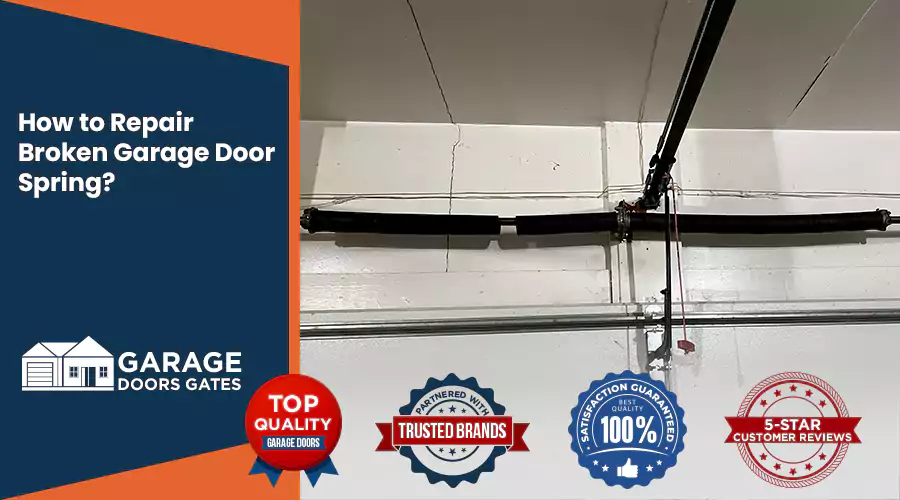
A broken garage door spring can disrupt the convenience of your automatic garage door. When that spring breaks, you might wonder how to fix it and whether it's a repair you can tackle on your own. This guide will walk you through why your garage door spring might break, how to replace it, and what to do.
If your garage door spring is broken, keep reading to learn how to repair garage door spring yourself and what the broken garage door spring repair cost.
The garage door springs carry out the duty of lifting and lowering your garage door each time you use it. Time and again, spring usage leads to deterioration through normal wear and tear. Two simultaneous effects occur with rust because it weakens the spring and impacts proper maintenance.
Regular garage door springs maintenance requires a white lithium grease treatment once per several months. Routine servicing of your garage door spring will help your equipment survive longer as it lessens the necessary spring repairs.
A basic balance test detects spring depreciation. Moving your garage door into manual mode, raising it halfway, and releasing it will determine the condition of your door springs. Proper spring maintenance involves regular lubrication using white lithium grease. A garage door that drops after release indicates the necessity of new springs.
When replacing a broken spring, you’ll need to know what type of spring your garage door uses. There are two primary types of garage door springs: torsion springs and extension springs.
You will also need to determine how many springs your door uses. Single garage doors often have a single garage door spring, while larger, heavier garage doors use double garage door springs. It’s essential to measure the length and diameter of the spring to get the correct replacement. For torsion springs, make sure to note whether you need a left- or right-wound spring.
Torsion springs typically last around 15,000 to 20,000 cycles, which is equivalent to about 7 to 12 years of average use. Extension springs last about 10,000 cycles, or roughly 5 to 7 years. The lifespan of your garage door spring depends on how often the door is used.

The cost of replacing a broken garage door spring can vary based on the type of spring you need and whether you hire a professional or do it yourself.
In total, for DIY repairs, you could spend anywhere from $15 to $100 depending on the spring type. If you choose to hire a professional, the cost may range from $250 to $400 for parts and labor.
While it is possible to replace a garage door spring yourself, it’s important to understand that it can be dangerous. Replacing a garage door spring incorrectly can lead to the door coming down suddenly, which could cause injury. For this reason, it’s often recommended to hire a professional for spring replacement. Many springs come with a warning recommending professional installation for safety reasons.
If you do choose to replace the spring yourself, make sure you have the right tools and follow all safety precautions.
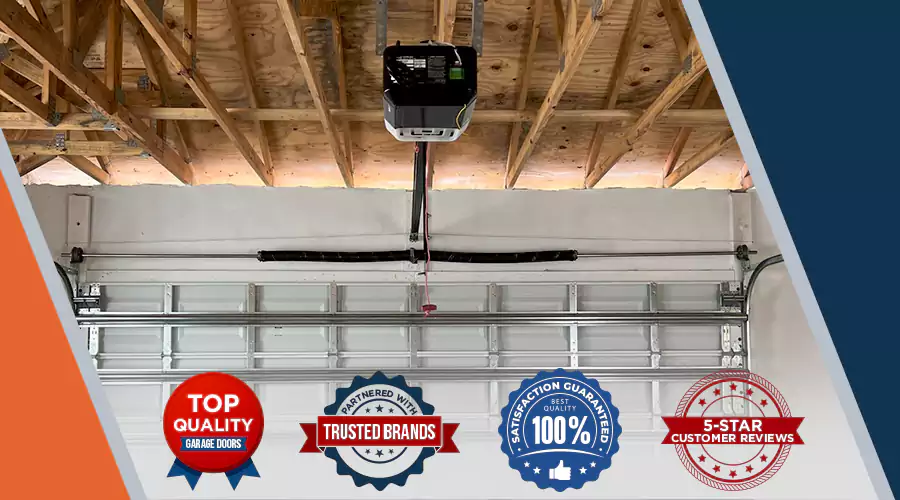
Until you’re able to repair the spring, you’ll need to open your garage door manually. Most garage doors have an emergency release pull cord that disengages the door from the opener. To use this:
Manually lifting the door will require more effort than usual, but it will let you open and close it until you can replace the broken spring.
A broken garage door spring is frequently observed, yet maintaining it does not need to become a severe problem. Whether you perform the spring repair yourself or hire a garage door spring repair expert, spring replacement costs will generally be affordable. Extension springs offer lower pricing yet have poorer longevity than torsion springs, which provide greater cost.
Doubts about performing the spring replacement yourself should lead you to hire a professional who will securely fix the issue. Until you get the repair service, you can manually operate your garage door using the emergency release. Keep moving forward with your automatic garage door immediately because repair services for a broken spring will ensure its quick functionality.
Reach out to us for expert spring repairs and quick solutions. Our experienced spring repair specialists will repair your garage door springs and verify complete operational functionality.
Get Free Estimates
833-423-0981