Los Angeles
Change Location (50+)
(50+) 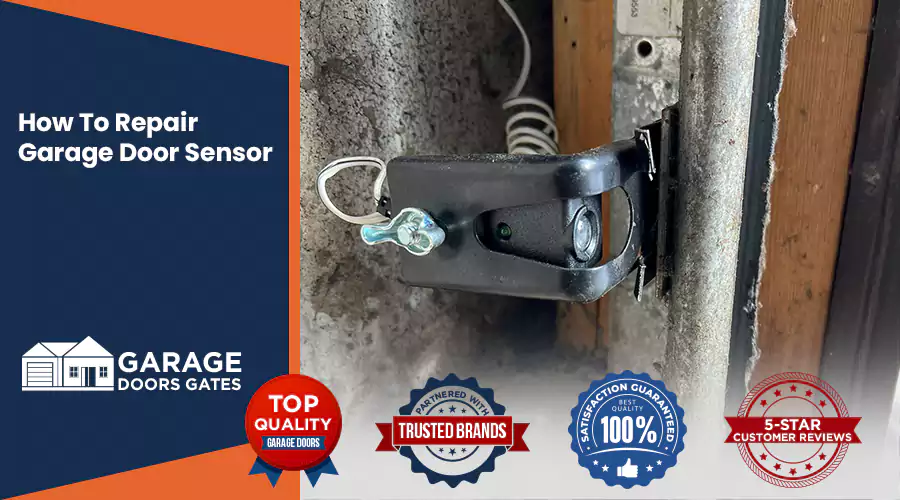
The garage door sensor acts as an essential safety feature that prevents closure when objects exist in the opening path. Your situation can become problematic if your garage door sensor fails to operate. An improperly functioning garage door causes problems with its closure mechanisms which results in safety risks and nuisance situations. Don’t worry, though! A complete guide exists to solve your garage door sensor problem.
Your garage door sensor issue becomes the main suspect when your door stays open or rises up repeatedly after your close attempt. You should check the status of the garage door sensor lights for evaluation. An improper sensor display consisting of blinking or flashing or being completely off indicates there is an issue with the sensor.
As the initial step confirm that power reaches the garage door sensor. You should inspect the wires which run from the sensor to the garage door power supply. Check loose wires then shut off the power supply before securing the wires by tightening them. The functioning of the sensor may be disrupted when wires become loose.
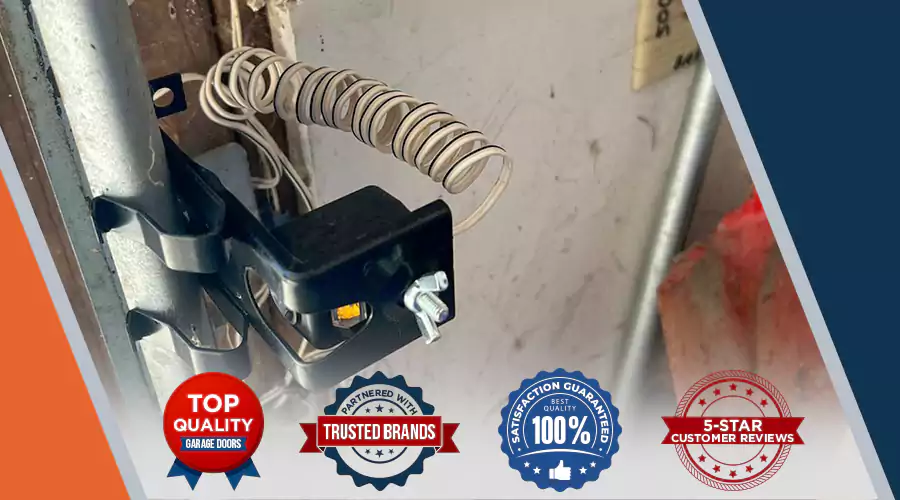
Sometimes, dirt or dust can build up on the sensor lens and mess things up. Cleaning the lens is an easy fix! Here’s how you do it:
The sensors need to be perfectly lined up to work. If one of them is knocked out of place, the door won’t know that there’s something in the way. To fix this:
Sometimes, there’s something blocking the sensor’s view. Maybe there’s a tool or something else in the way. Check the area around the sensors and clear any objects that might be blocking the beam.
If the sensor still isn’t working, check the wires. They might be damaged or loose. Here’s how you can inspect the wiring:
Replacement of the sensor becomes necessary after verifying that all steps of cleaning and wire maintenance failed to restore proper functionality. The replacement of a broken sensor will become necessary. A new compatible sensor for your garage system exists on the market which you can install through the provided instructions.
When all troubleshooting attempts fail to get the sensor operational you should seek expertise. Garage door sensor experts possess the knowledge required to conduct safe repairs of these components.
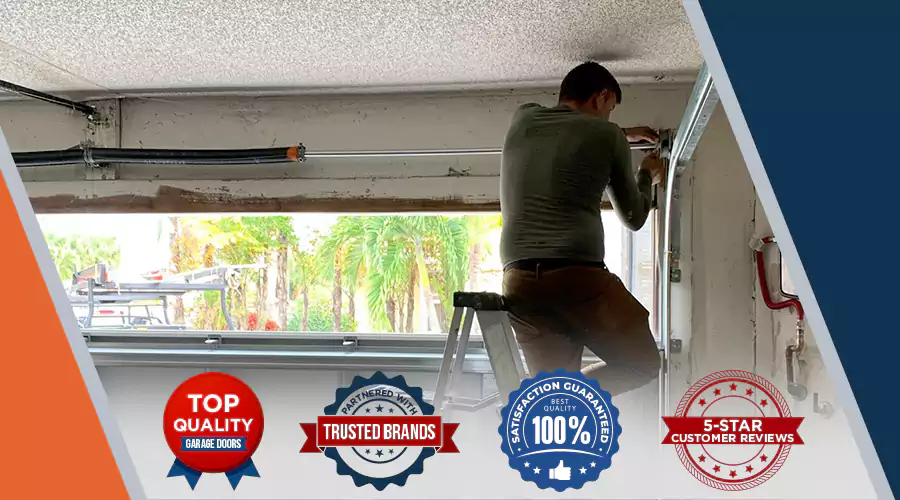
Fixing a broken garage door sensor doesn’t have to be hard. By cleaning the garage door lens, realigning the sensors, and checking the garage door wiring, you can often fix the issue yourself. If it’s still not working, garage door sensor replacement or calling a garage door pro is the next step. Regular garage door maintenance will keep your garage door sensor working properly and make sure your garage stays safe!
Get Free Estimates
833-423-0981